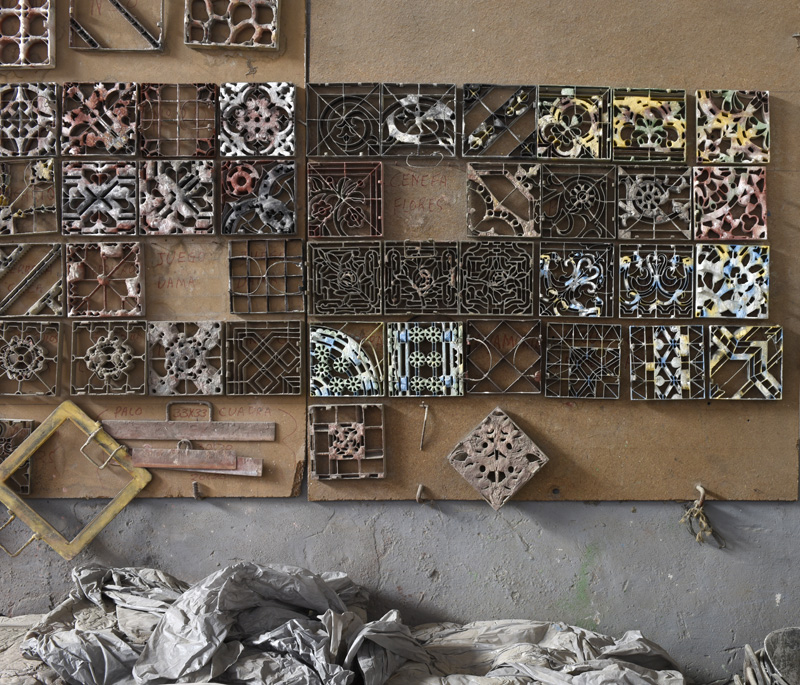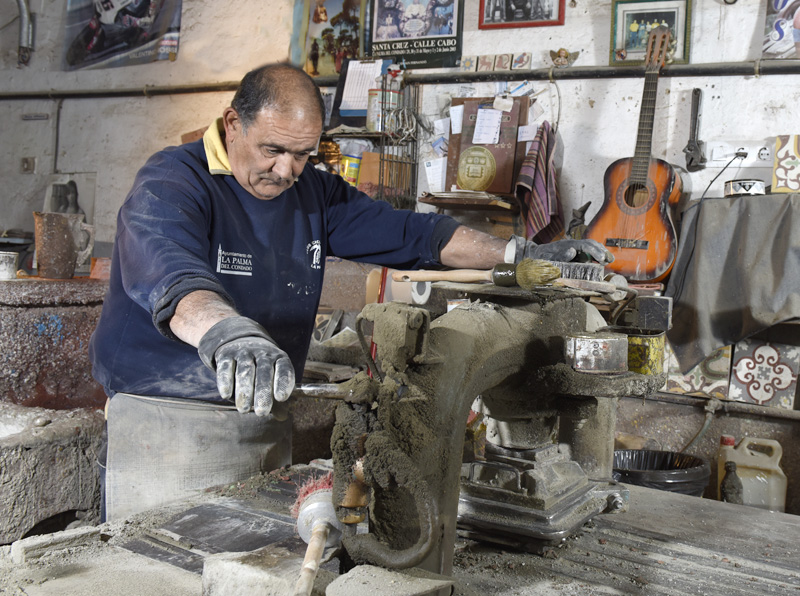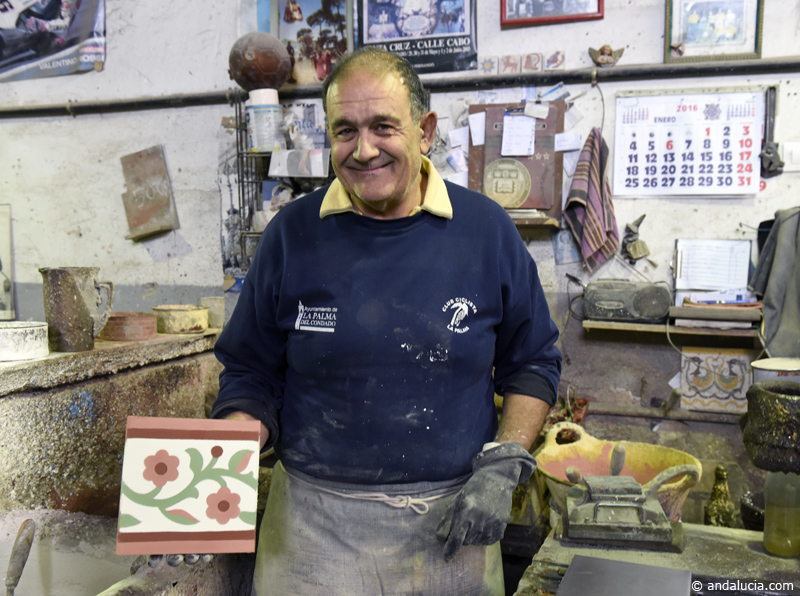
There is a sense of pride in the workplace here at Mosacios Pino © Michelle Chaplow |
|
CEMENT TILEs - PART 2 - The traditional process: how a hydraulic cement tile is produced
by Fiona Flores Watson
To see one of these cement tiles being made by hand is astonishing, a skilled job learned from master-craftsmen over years. The stages are simple, and the process looks straightforward, but the margin for error is enormous - too little time or too much at each stage, the wrong amount of coloured cement, or a stray drop of colour, and your tile is ruined.
Mosaicos Pino has three workbenches at one end of in its vast factory-store room, a former 19th-century bodega (winery - El Condado, the area where the town is located, is a famous wine-making area) - with two men normally working on each. Today Paco, who has been working at Mosaicos Pino for 17 years, is making the colour tiles.
First, he takes the square trepa (mould, handmade from metal) and clips it into a base. Then he takes thick coloured liquid, made of white cement, fine sand and marmolina (marble powder) and pigment, kept in separate basins behind his workbench, and carefully pours it into the mould using a cazo (trowel with a narrow pointed spout). Some sections of the mould are just millimetres wide, so the colour needs to be poured with astonishing accuracy; this take a steady hand and years of practise. After adding the coloured liquid, Paco gently shakes the mould to ensure it is levelled evenly in the mould.

The process is repeated for each colour; tiles have a maximum of four colours, with the most popular being classic shades of white, grey, red and yellow, although nowadays a wider range of blue and green shades is on offer. Blue is prohibitively expensive, costing more than three times as much as the other colours.
After leaving it for a minute or so, during which time Paco stirs the colours stirred so they don't separate - the heavier marble powder can fall to the bottom. The craftsman carefully lifts out the mould.
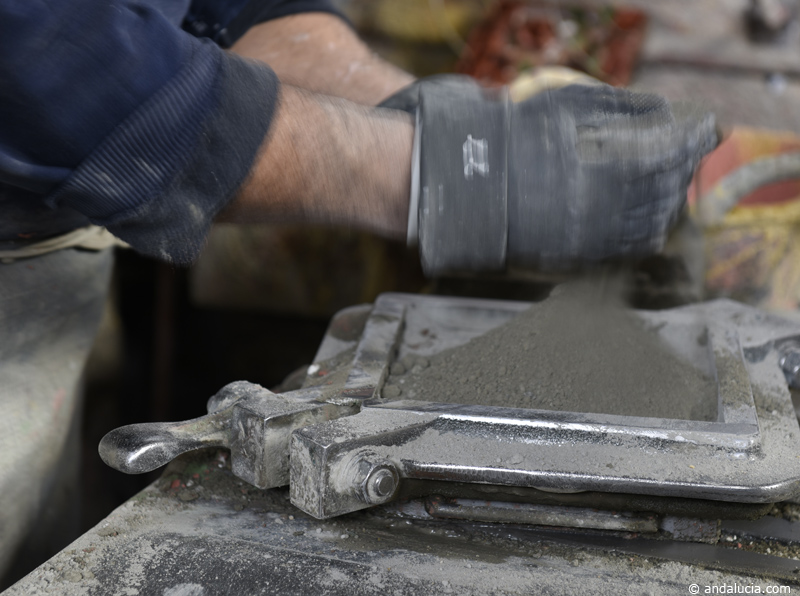
He then adds a fine layer of pale, damp cement to set the colours (you can see the blurred reverse of the coloured design) and then adds a fine sand and cement layer, followed by a mix of coarse sand and cement, until the mould is full.
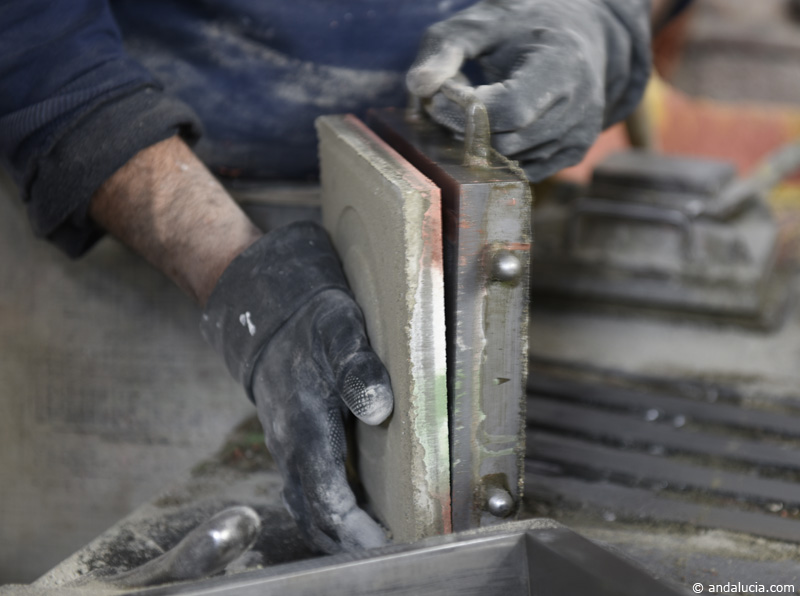
The frame is placed under the electric-powered hydraulic press. This process would have been manual in Jesus Pino's day, using a stick to turn like an olive press, pushing the layers of round esparto grass mats together to squeeze out the maximum amount of oil from the fruit.
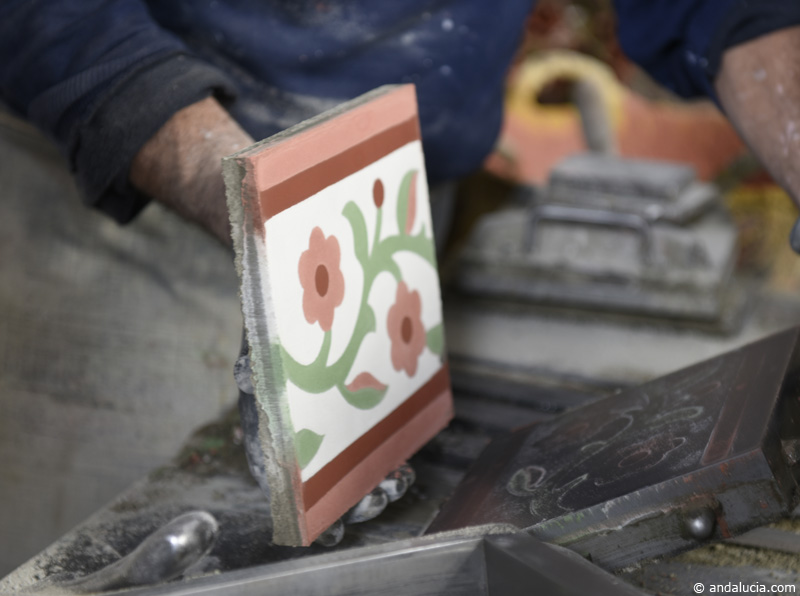
The electric press pushes out all the water from the tile, so you're left with a solid mass. This type of press produces a more consistent, higher pressure (1500 pounds per square inch) which allows a thicker pigment layer to be embedded in the cement tile.The tile is pushed down for a matter of seconds, the frame is opened - and Paco proudly shows us the finished square tile. To show us the soft, damp consistency of a recently-pressed tile, Antonio breaks it, to our astonishment, and it crumbles easily back into powder.
So how does a cement tile harden? With time - these tiles are not fired. Depending on the season, and the corresponding air temperature, they are left in the factory for between 20 and 30 days (mass-production reduces this period to five days, resulting in a tile of inferior quality and durability).
Mosaicos Pino produces around 5m2 of tiles each day, and roughly 400m2 per month, giving an annual production of some 5000m2 per year.
Continued.....Part 3......Designs for life
